
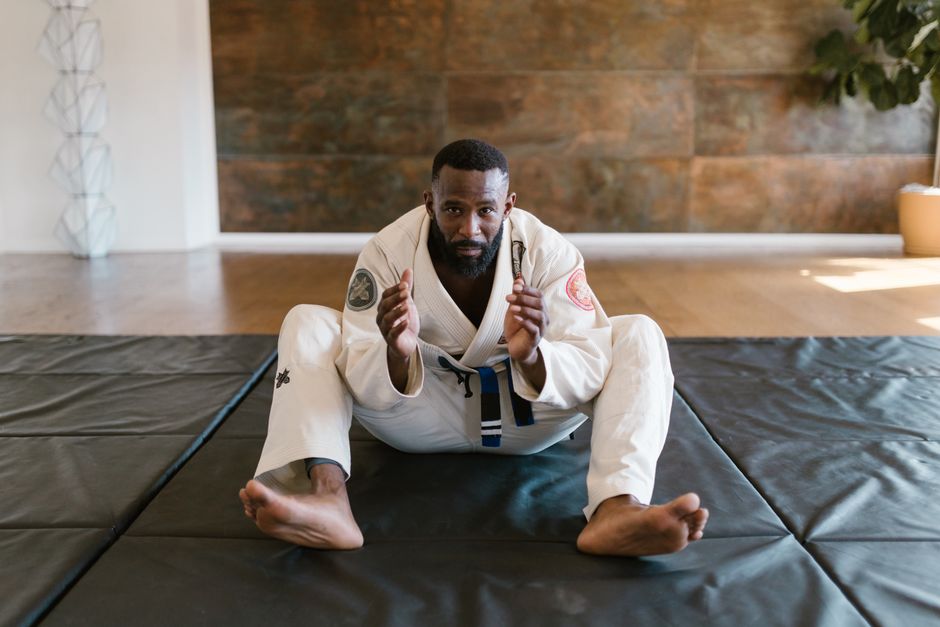
You don't need a partner to get better at jiu jitsu. Solo drills are one of the best ways to build technique, movement quality, and body control when you're training alone. Whether you're at home, traveling, or just want to maximize your training between classes, these drills will keep you sharp and moving better.
Why Solo Drills Matter for Your Jiu Jitsu
Training with a partner is obviously important, but solo drills fill a huge gap. They let you focus on your own movement without worrying about timing or rhythm with someone else. You can repeat the same motion hundreds of times, nail the details, and build muscle memory that sticks.
Related: Best Jiu Jitsu Gi: What to Look For When Choosing
Related: Jiu Jitsu vs Taekwondo for Kids: Which is Right?
Related: Jiu Jitsu Cardio Workout: Build Your BJJ Conditioning
Related: Jiu Jitsu Guard Passing: 5 Core Techniques to Master
Related: Jiu Jitsu Escapes from Mount: 5 Core Techniques
Related: How to Escape Mount Position in Jiu Jitsu
Related: Jiu Jitsu Moves List: 20+ Essential Techniques for Beginners
Related: Jiu Jitsu Submissions List: 37+ Techniques Explained
Related: Jiu Jitsu Gis for Men: Choose the Right Fit for Your Training
Related: Jiu Jitsu for Self Defense: A Practical Guide
Related: Jiu Jitsu Single Leg Takedown: Step-by-Step Guide
Related: Jiu Jitsu Ranks Explained: Belt Progression Guide
Related: Brazilian Jiu Jitsu Moves Names: A Beginner's Guide
Related: Brazilian Jiu-Jitsu Solo Drills: Practice Alone at Home
Solo drills also build awareness of your body in space. You learn how your hips move, where your weight sits, and how to control your center of gravity. That foundation makes you sharper in live rolling and sparring later.
10 Essential Jiu Jitsu Solo Drills to Practice
Most of these drills need nothing but your mat or a small open space. No equipment required.
1. Hip Escape (Shrimping)
This is the king of solo drills. Lie on your back with your knees bent and feet flat on the floor. Drive your hips up off the ground, then slide one knee toward your chest while pushing your hips sideways. Your other leg extends down. Alternate sides in a smooth flow.
Do this 20-30 reps per side, slowly and with control. Feel your hips do the work, not your arms. This drill teaches you how to create space when someone is on top of you.
2. Bridge and Roll (Upa)
Lie on your back with knees bent. Press your hips up hard into the air. From there, roll to one side, keeping your hips high. Come back to center and repeat on the other side.
This teaches you how to use your legs and hips to escape from bottom position. Do 15-20 reps, focusing on power and control through your core.
3. Technical Stand-Up
Start lying on your back. Post your hands behind you, keeping one knee up and one leg extended. Push through your hands and feet to come up to a standing position without using your arms to pull yourself up. The motion should be smooth and controlled.
This is a foundational movement that keeps you safe when you're on the ground. Practice both sides and aim for 10 reps per side, moving slowly.
4. Granby Roll
This is an advanced drill, so make sure you understand the basic movements first. From a ground position, you roll along your back and shoulders in a tucked, circular motion. Your goal is to come up on the other side facing a different direction.
Granby rolls take practice to get smooth. Don't rush it. Start with 5-10 reps and focus on staying tight and controlled.
5. Duck Lunges
Stand up and bend your knees deeply, getting low to the ground. Walk forward in a deep squat position, keeping your chest upright and your weight centered. Take 10-15 steps forward, then walk backward the same way.
This drill builds leg strength and teaches you how to move at a low level with control. It's great for improving your footwork and developing the leg power you'll use in takedowns and position changes.
6. Side Break Falls
Stand with your feet shoulder-width apart. Fall to one side, landing on your forearm and the side of your body. Slap the ground with your hand to absorb the impact safely. Get up and repeat on the other side.
Learning to fall safely is a core skill. Practice this 10 times per side until it feels natural. Proper falling protects you from injury when you're rolling.
7. Backwards Roll
Lie on your back with your knees tucked toward your chest. Rock backward and let your momentum carry you in a roll. Your hands and arms stay tucked. Come up on your feet on the other side.
This builds your ability to move and change position smoothly. Do 10-15 reps. The motion should be controlled, not wild.
8. Hip Mobility Flow
Combine three movements in sequence: start with a hip escape, flow into a bridge, then finish with a technical stand-up. This three-move sequence teaches your hips how to work through different ranges of motion.
Do 5-8 smooth cycles of this flow. Think of it as a dance where every movement connects to the next one.
9. Core Coordination Drill
Lie on your back and bring your knees to your chest, then extend your legs. Bring them back in. Now do the same motion but with your upper body lifting slightly off the ground. Alternate between these for 20 reps.
This teaches your core to stay tight and engaged. A strong core is the foundation of everything in jiu jitsu.
10. Level Change Practice
Stand with good posture. Lower your hips down by bending your knees, then come back up. Do this slowly, focusing on staying balanced. Then add a forward step while lowering down. Practice moving at different levels with control.
This drill prepares your body for the footwork and positioning changes you'll use in live training. Do 15-20 level changes, mixing it up between just lowering down and adding forward steps.
How to Build a Solo Drill Routine
The best solo drill routine is one you'll actually do. Start with 15-20 minutes a few times a week. Pick 4-5 drills that feel good to you and cycle through them.
Do each drill for 30 seconds to 1 minute, then rest for 15-20 seconds. This keeps your movement quality high. Quality beats volume. Sloppy reps don't help you build better technique.
As you get stronger and more comfortable, add more drills or increase your reps. The goal is to move better and build patterns that carry into your rolling sessions. If you want personalized guidance on structuring a solo drill practice that complements your goals, Gonzales JJ can help you develop a plan that fits your schedule and skill level.
Start your BJJ journey off (Free Class)
Get Started Today →
Solo Drills Work Best With Live Training

Here's the truth: solo drills are powerful, but they're not a replacement for rolling and training with partners. They're a supplement. They build your foundation so that when you do train with other people, you're sharper, stronger, and more aware of your own body.
Think of solo drills as homework. You're building good habits and refining your movements. Then in class, you apply those patterns against real resistance and timing. Both together make you a complete jiu jitsu player.
The beauty of solo drills is that you can do them anywhere, anytime. Before work. In your living room. When you're traveling. You don't have an excuse to skip them because you don't have a partner. That consistency adds up fast.
Getting Started With Solo Drills
You need almost nothing to start. A mat or padded floor. Open space about 6 feet by 6 feet. That's it. No fancy gear. No equipment.
Start slow. Pick two or three drills from the list above and do them for a week. Get comfortable with the movements. Once those feel solid, add more drills. The progression matters more than how many drills you know.
Pay attention to how your body feels. Good soreness is normal. Sharp pain is not. If something doesn't feel right, stop and come back to it tomorrow.
If you want feedback on your technique or a customized plan for your training, Gonzales JJ offers personalized instruction that helps you build a solid foundation and progress faster.
Track Your Progress
Solo drills might not feel as exciting as rolling, but they work. Keep it simple: note which drills you did and how many reps. Over a few weeks, you'll notice you can do more reps, your movements feel smoother, and your rolling gets sharper.
That's progress. That's momentum. That's what solo drills do for you.
Frequently Asked Questions

Can solo drills replace live rolling with a partner?
No. Solo drills build your foundation and movement quality, but live rolling teaches you timing, pressure, and how to adapt to an opponent. You need both. Solo drills are your homework between class sessions.
How often should I do solo drills?
Aim for 2-4 times per week, 15-20 minutes per session. If you're also doing classes, think of solo drills as extra work that builds your technique on your own time. If you're not in a class yet, solo drills are a great way to start learning movement before joining a gym.
Do I need equipment for solo jiu jitsu drills?
No. Most solo drills need just your body, a mat or padded floor, and some open space. That's it. You can do them at home, outside, or anywhere you have room to move.
What's the best solo drill for beginners?
Hip escapes (shrimping) are the perfect starting point. They teach fundamental hip movement, build leg strength, and give you the foundation for escaping positions. Start with this drill and do it every session.
Start your BJJ journey off (Free Class)
Get Started Today →